



































Migrating from VMware to Proxmox in Morocco: method, tools and pitfalls
VMware to Proxmox migration in Morocco: inventory, ESXi import wizard, cutover waves, rollback, SAN or Ceph, Veeam or PBS backup during the move.
A VMware to Proxmox migration succeeds before the first import: complete inventory of the estate, tested backup, target storage decided, VMware tools removed from every machine. The transfer itself has become simple thanks to the import wizard built into Proxmox VE. What makes projects fail is forgotten dependencies, the wrong storage choice and no rollback plan. Here is the method we use in Morocco for SMBs leaving VMware, as a Proxmox partner.
Why so many companies in Morocco are leaving VMware
Since Broadcom acquired VMware, licensing terms have changed profoundly: perpetual licences are no longer sold, offers have moved to bundled subscriptions, and commercial contacts have changed. For many SMBs, renewal has become a decision to rethink from scratch rather than a formality.
Proxmox VE is the platform we deploy most often as the replacement. It is open source, with no per-feature licensing, and brings virtualisation, high availability, Ceph distributed storage and backup together in one interface. Vendor support is sold as an annual subscription per occupied physical CPU socket, with access to the Enterprise repository.
This article covers the migration itself. For the target architecture, see our guide to Proxmox and Ceph high availability. If you are still comparing platforms, read our article on XCP-ng and Xen Orchestra.
Step 1: a complete inventory, no exceptions
Everything starts with an exhaustive list. For each virtual machine we record:
- the operating system and version, the boot mode (BIOS or UEFI);
- the business role, owner and criticality;
- dependencies: database, directory, hardware-bound licences, network flows;
- IP addressing, DHCP reservations and related firewall rules;
- existing snapshots, any encryption, the storage used (local, SAN, vSAN);
- the acceptable downtime window.
Software licences deserve special attention: some business applications are tied to the machine’s hardware ID or MAC address. A new virtual network card can be enough to deactivate them. Better to find out before the cutover, with the vendor on the phone, than after.
Step 2: the migration tools
| Method | When to use it | Watch out for |
|---|---|---|
| ESXi import wizard (built in) | The vast majority of machines | Connect to the ESXi host rather than vCenter, which is much slower |
| Live-import | Servers whose downtime must be as short as possible | If the import fails, data written since it started is lost |
| OVF export then import | Already exported machines, sources without direct access | Extra export step |
| Disk import or cloning | Special cases, physical machines | More manual, configuration must be recreated |
The import wizard is set up by adding the ESXi host as a storage source in Proxmox VE. It lists the available machines and carries over most of their configuration. Proxmox documents several limits worth knowing:
- disks on vSAN cannot be imported: move them to other storage first;
- disks encrypted by a storage policy must be decrypted first;
- snapshots slow the import down significantly: consolidate them;
- virtual TPM state cannot be migrated: if full-disk encryption depends on it, keep the recovery keys at hand;
- running too many imports in parallel can overload the ESXi host’s API: run them in sequence.
Step 3: preparing each machine
Proxmox recommends removing VMware tools before migrating, as they are hard to uninstall afterwards. Note down the network configuration: the adapter name changes, and Windows warns of a conflict if you reuse the same static IP. For DHCP reservations, carry over the MAC address or update the reservation.
On the target side we apply Proxmox best practices: VirtIO SCSI single controller, VirtIO network card, QEMU guest agent, a CPU type compatible with live migration between nodes, and the same boot mode as the source (SeaBIOS or OVMF/UEFI).
On Windows, VirtIO drivers are not present by default. A Windows machine usually boots first with a SATA disk, then the drivers are installed from the VirtIO ISO before switching the system disk to VirtIO SCSI. This step repeats on every Windows machine: it belongs in the procedure, not discovered on cutover night.
Step 4: target storage, Ceph or existing SAN
This is the most structuring architecture decision.
Keep the existing SAN. An iSCSI or Fibre Channel array can serve as shared LVM storage, with multipath configured. It is economical if the array is recent and under support. The limit: snapshots do not work as in VMware. Proxmox offers a snapshot option on this kind of storage, still a technology preview; a NAS over NFS also allows snapshots through the qcow2 format.
Move to Ceph. Proxmox recommends Ceph for shared storage. Disks sit inside the servers and data is replicated across several nodes, with no central array as a single point of failure. You need at least three nodes and a fast dedicated storage network.
Our rule: an array reaching end of support does not justify carrying over the old architecture. A recent array can be kept for the migration, then replaced by Ceph at the next hardware refresh.
Step 5: cutover in waves, with rollback
- Build the Proxmox cluster, its network and its backup before the first migration.
- Pilot wave: one or two low-criticality machines to validate the full procedure.
- Following waves in coherent groups: an application and its dependencies move together.
- Critical servers last, once the platform has been proven by the others.
- Acceptance test after each cutover, with the business user concerned.
Rollback comes down to one rule: the source machine stays intact on the ESXi host, powered off, until acceptance is signed off. If there is a problem, power off the Proxmox copy, restart the original, and work resumes. Do not repurpose the old hardware before the project ends.
Step 6: backup during the transition
This is the most exposed moment: two platforms coexist, and backup must cover both.
- Veeam supports both VMware and Proxmox VE. If Veeam already protects your estate, keeping it avoids any backup gap. Its per-workload licence is portable from one platform to another, as explained in our guide to Veeam Data Platform editions.
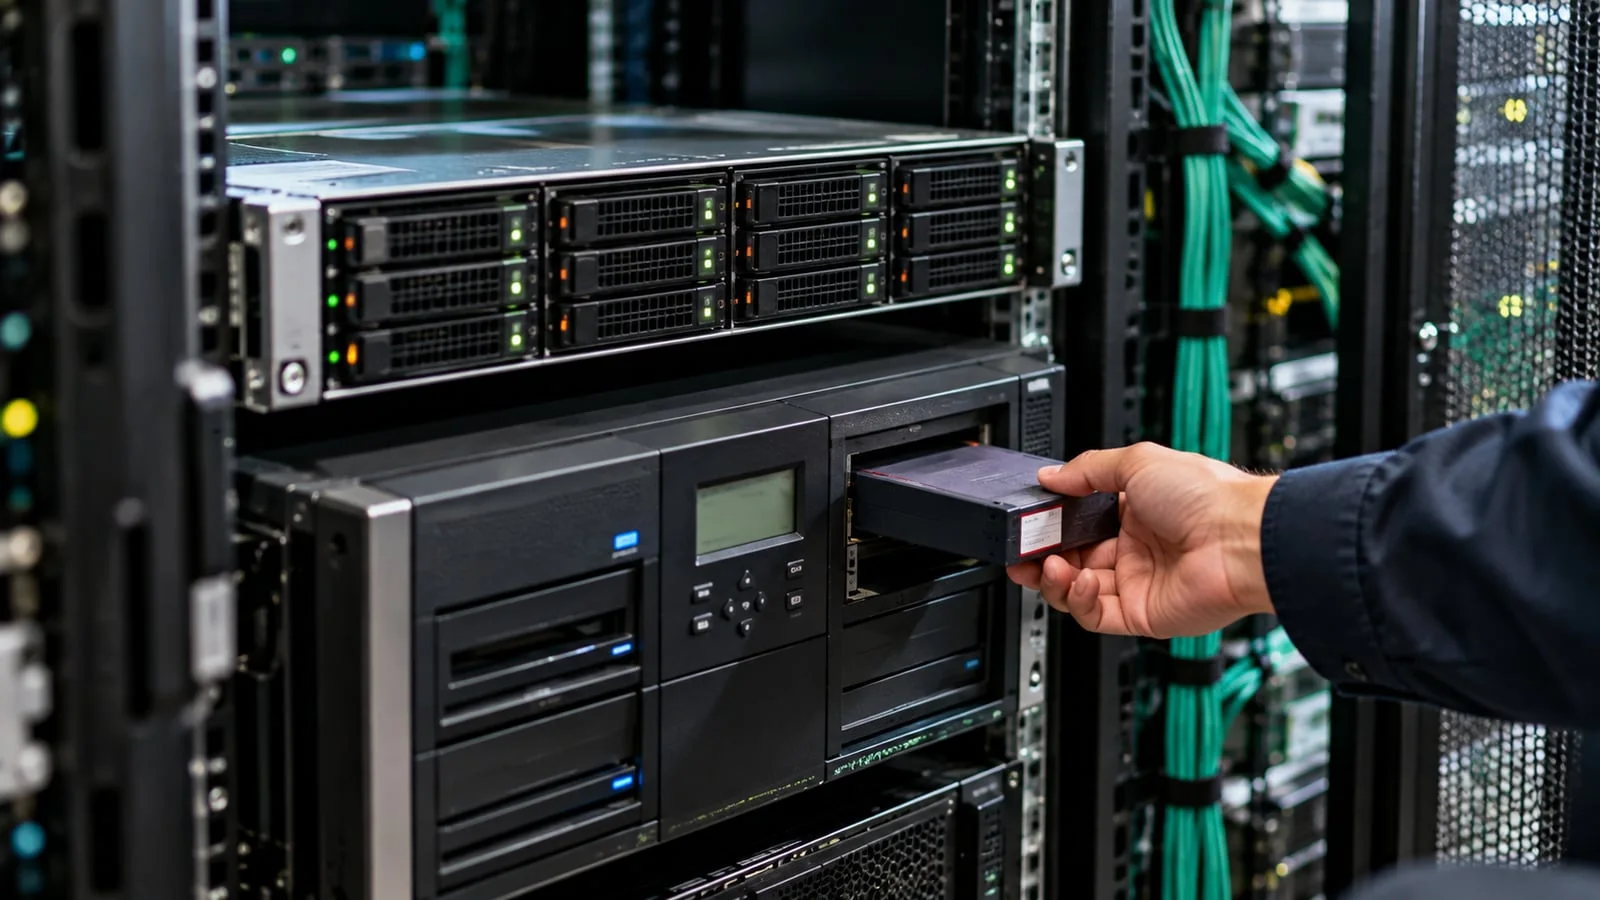
- Proxmox Backup Server is the native option: deduplicated incremental backups, verification and live restore of a machine.
Either way: a full, tested backup of each machine just before its cutover, and the backup server outside the cluster it protects. Our guides on immutable 3-2-1 backup and restore testing detail the approach.
The most common pitfalls
- Migrating without an inventory, then discovering a dependency on Monday morning.
- Leaving VMware tools in the machines, hard to remove afterwards.
- Importing through vCenter and watching the migration drag on for days.
- No VirtIO driver plan for Windows: the machine does not boot.
- A software licence tied to the MAC address, deactivated by the new network card.
- Keeping an end-of-life SAN out of habit.
- Deleting source machines before acceptance testing.
- Going live without a subscription or the Enterprise repository, so without stabilised updates.
Checklist before the first cutover
- Complete inventory, criticality and downtime window for each machine.
- Application dependencies and hardware-bound licences identified.
- Target storage chosen: Ceph, existing SAN or NAS.
- Proxmox cluster in place, dedicated network, active subscription.
- Backup working on the new platform, restore tested.
- VMware tools removed, network configuration recorded.
- Snapshots consolidated, vSAN or encrypted disks handled.
- Windows VirtIO procedure written and tested.
- Rollback plan validated for each wave.
How we do it
We start with an audit of your VMware estate: inventory, dependencies, storage, backup and licensing. We then design the target architecture, build the cluster and migrate in waves, outside business hours, with acceptance testing and rollback for each machine. After migration, the platform joins our 24/7 monitoring, with critical incidents handled in under 15 minutes. All of this sits within our Proxmox and Veeam virtualisation offer, complemented if needed by our backup and business continuity offer. Our case studies show this kind of project.
Is your VMware renewal coming up? Request your free initial audit: we will deliver an inventory and a detailed migration plan based on your actual estate, with a reply within 24 business hours.
Frequently asked questions
Can Proxmox VE import VMware virtual machines directly?
Yes. Since version 8, Proxmox VE includes a wizard that connects to an ESXi host and imports a virtual machine with most of its configuration. Proxmox states it was tested from ESXi 6.5 to 8.0. Importing through vCenter works but is much slower, and vSAN-backed or encrypted disks must be dealt with first.
Can we keep our existing SAN with Proxmox?
Often, yes: an iSCSI or Fibre Channel array can be used as shared LVM, or a NAS over NFS. Snapshots, however, do not work the way they do in VMware. Proxmox recommends Ceph for shared storage; the right choice depends on the array’s age and your snapshot needs.
Do servers have to be shut down during the migration?
Each machine is powered off on the ESXi side while it is imported. Proxmox’s live-import option starts the machine while the rest of the data is copied in the background, which greatly reduces downtime. We schedule every cutover outside business hours.
Veeam or Proxmox Backup Server during the migration?
Both support Proxmox VE. If Veeam already protects your VMware estate, keeping it through the transition avoids any backup gap and lets you restore a machine on either platform. Proxmox Backup Server is an excellent native option going forward.
About the editorial team
ALLSAFE SOLUTIONS
Network, security and cloud engineers
Written by the engineering team at ALLSAFE SOLUTIONS, a managed IT provider founded in Casablanca by network, security and cloud engineers. Our articles draw on the projects we deliver for clients in Morocco and abroad.
LinkedIn